I saw
this calzone recipe a few days ago and couldn't wait to try it out this weekend. I knew that I wanted to make a few changes...for example, I'm not a fan of nutmeg unless it's in pumpkin pie or egg nog. Then when I went to buy my ingredients after work yesterday, just the thought of making pizza dough from scratch made me exhausted so I bought a Pillsbury ready made crust instead. Here's what I came up with:
Pizza Florentine Recipe
Prep time: 20 minutes
Bake time: 13 minutes
Ingredients:
1 can Pillsbury pizza crust
1/2 cup store bought alfredo sauce
1 cup shredded mozzarella cheese
1/2 cup part skim ricotta cheese
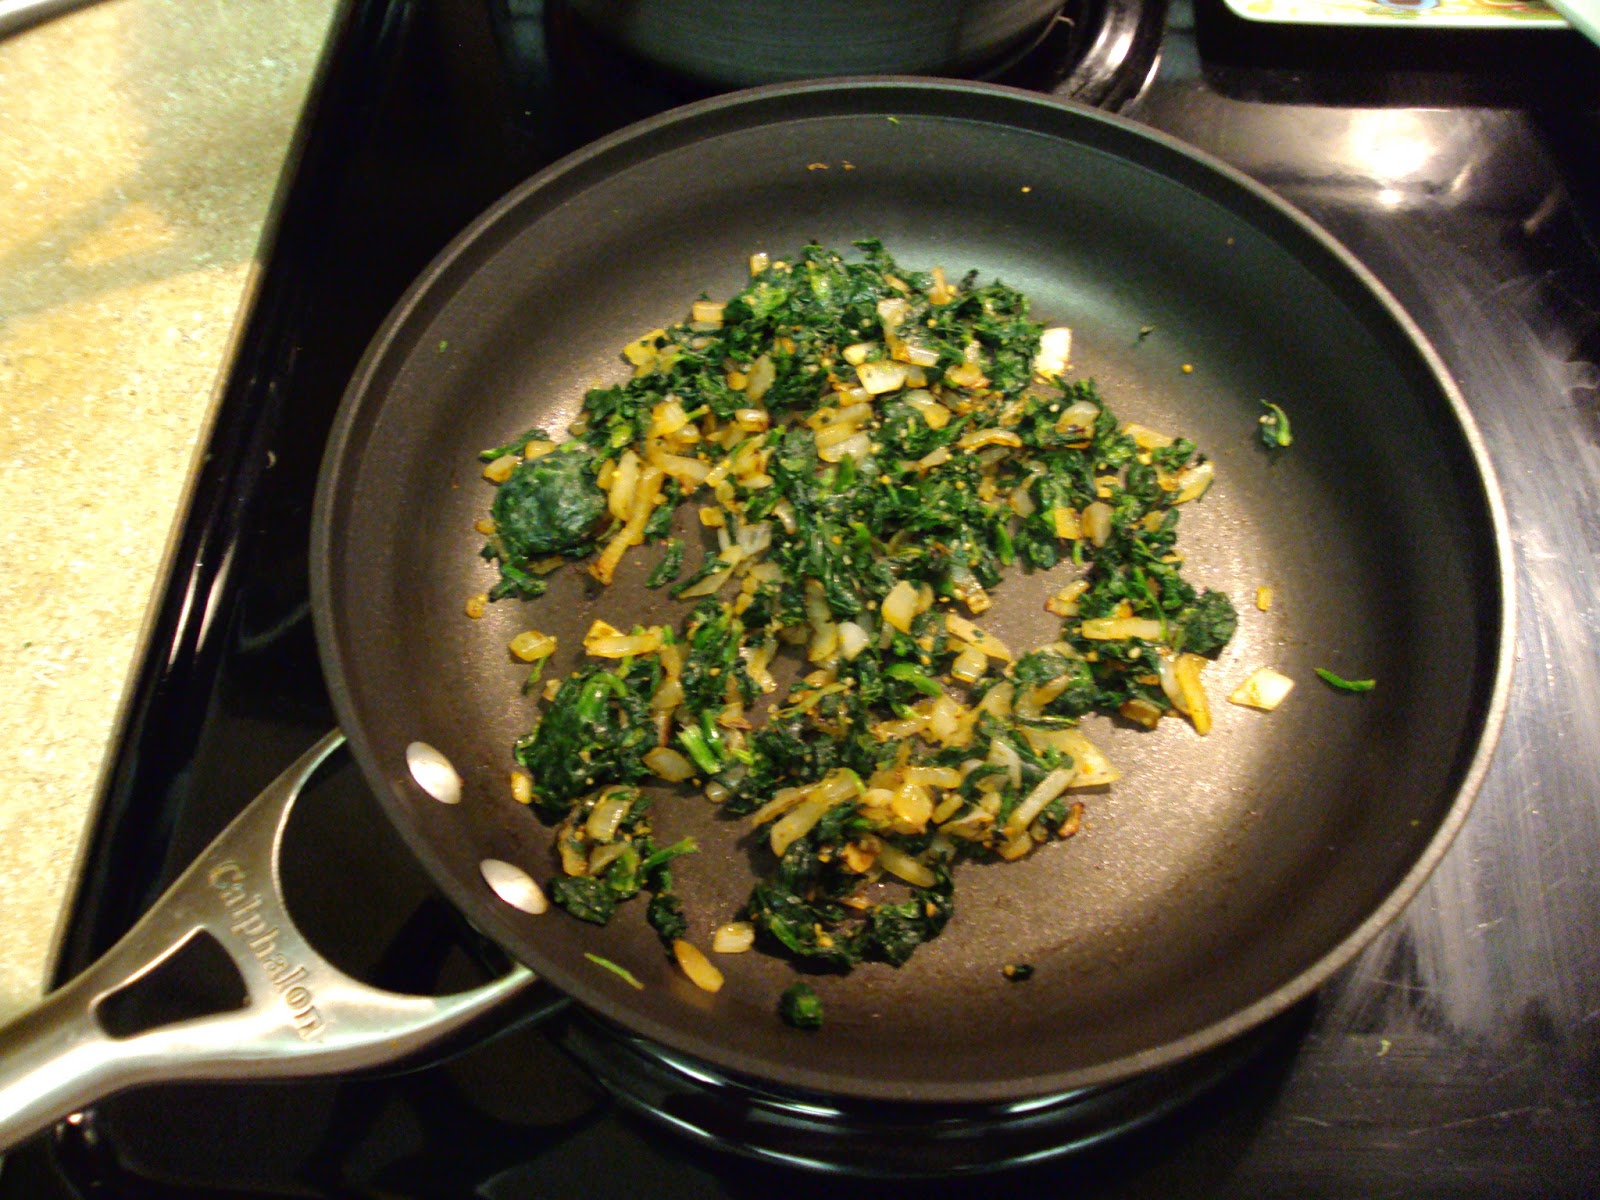
1/3 cup cooked spinach drained of excess moisture
1 tbs grated parmesean cheese, plus extra for topping
1/2 tsp Italian season (I use HEB Tuscan herb blend available with bulk spices)
1/2 tsps garlic powder
1/4 tsp salt
1/4 tsp ground black pepper
Instructions:
1. Preheat oven to 400 degrees.
2. Combine the last 7 ingredients in a medium bowl and mix with a fork until combined.
3. Prepare the crust according to package instructions.
4. After crust has baked for 5 minutes, use a spoon to spread the spinach and cheese mixture over the warm crust.
5. Spread the alfredo sauce over the spinach and cheese mixture.
6. Top with shredded mozzarealla cheese (I also added an extra sprinkle of grated parmesean, Italian seasoning, and black pepper before I popped it in the oven).
7. Bake for an additional 7 minutes or until crust is brown and cheese is bubbly.
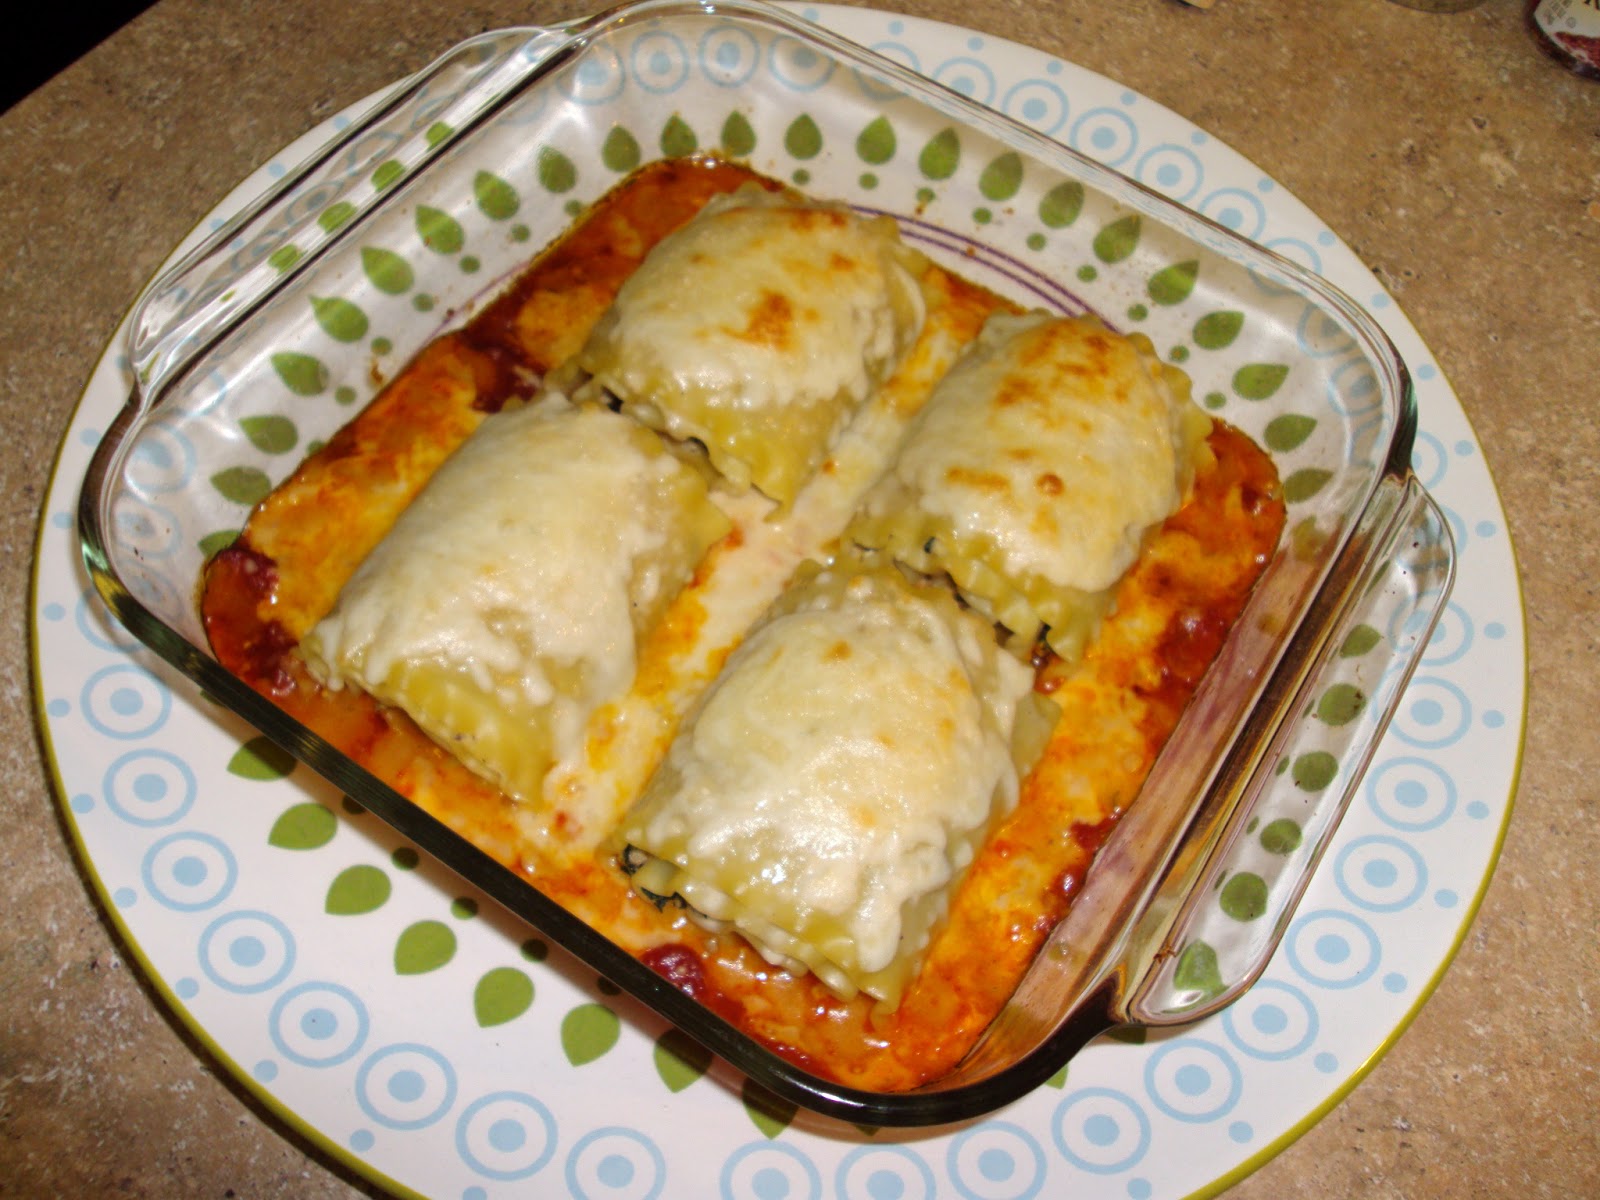
Dinner is served! I also tried making the pizza with tomato sauce in place of alfredo. Both were delicious. Pizza is so fun to experiment with because you can top it with just about anything. I think next time I'll add onion and proscuitto to the recipe. What will you add?
à bientôt!


